This week, the Scout Elves are planting pine trees and poinsettias at the North Pole, making it even more beautiful! They’re having so much fun, they wanted to share a fun DIY craft to help you complete your spring garden: seed bombs! These colorful creations are easy to make, and your little ones will have a great time spreading them throughout your garden. Follow the instructions below, and you’ll have beautiful blooms in no time!
You’ll Need:
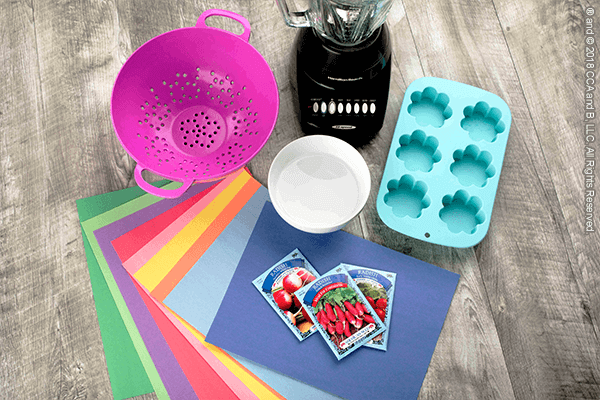
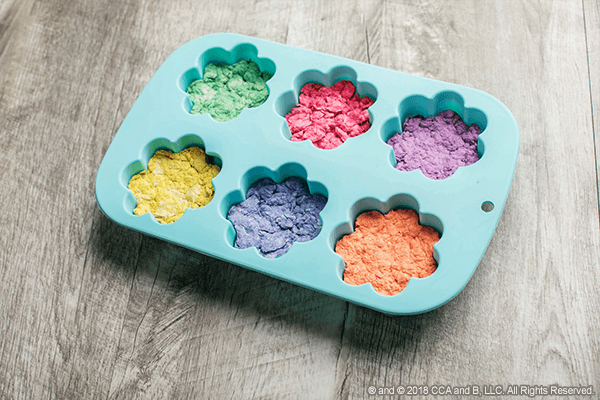
- Silicone tray
- Flower, plant, fruit or vegetable seeds
- Construction paper (multi-color)
- Water
- Blender or food processor
Instructions:
- TEAR up pieces of paper into small pieces, and place them in a bowl of water. Allow the paper to soak for 10-20 minutes.
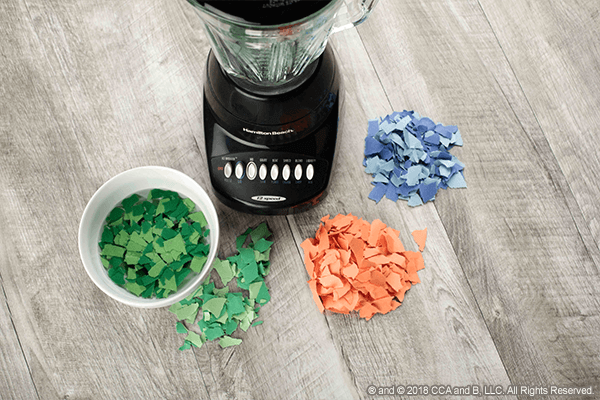
- PLACE the paper, along with a few splashes of water, in a blender or food processor on low speed to create paper pulp.
- POUR the paper pulp into a colander, and squeeze out any excess water.
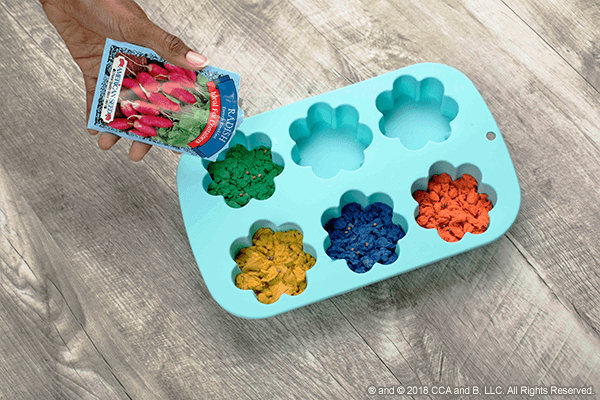
- FILL the bottom of your molds with the paper pulp, packing it in tightly.
- SPRINKLE 5-10 seeds on top of the paper pulp (crowded seeds may not sprout), then cover the seeds with more pulp, filling out the mold. Helpful hint: For their seed bombs, the Scout Elves love to plant resilient, fast growing herbs like cilantro, dill and basil or easy-to-grow wildflowers.
- LET the seed bombs sit overnight, then pop them out of the molds.
- TOSS them throughout your garden, and wait for the beautiful blooms!
Want even more fun crafts to complete with family? Head over to the Craft Corner!
Please remember that when attempting the craft included in this post children should always be supervised by an adult. When using crafting supplies or products, always read manufacturer’s instructions and warnings.